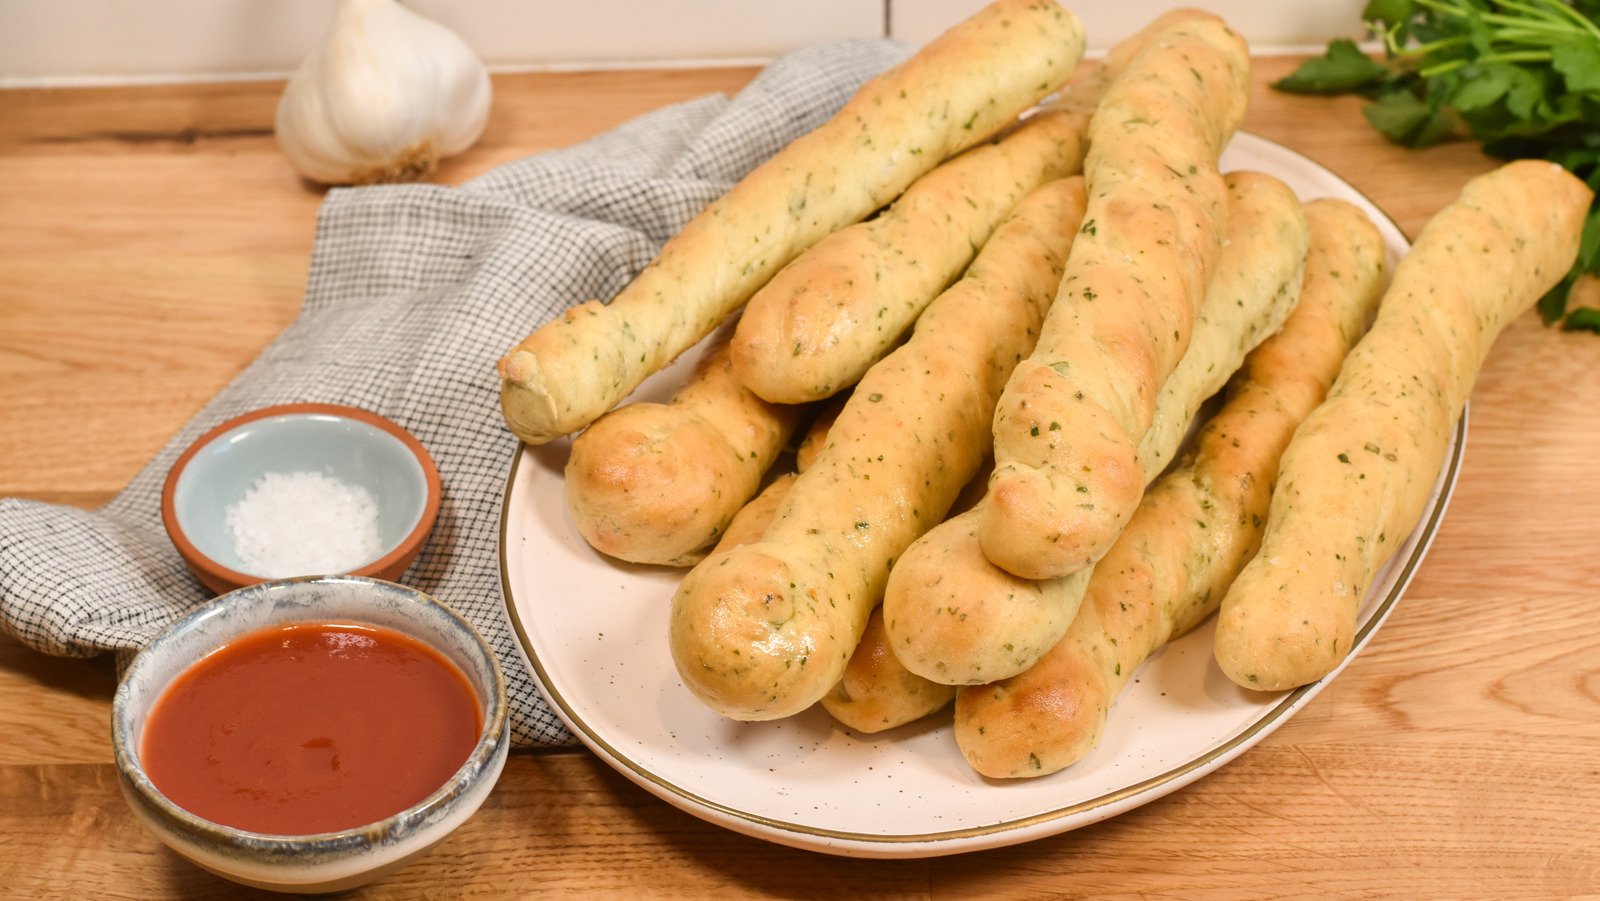
Easy Garlic And Herb Breadsticks Recipe – The Perfect Addition to any Meal
Are you looking for a delicious and easy-to-make side dish that will impress your family and friends? Look no further than this mouthwatering garlic and herb breadsticks recipe. With simple ingredients and step-by-step instructions, you’ll be able to create a delightful accompaniment that will elevate any meal. So, roll up your sleeves, put on your apron, and let’s get cooking!
Gather Your Ingredients
Before you start making these amazing breadsticks, make sure you have all the necessary ingredients on hand. You’ll need:
- 2 ¼ cups all-purpose flour
- 1 tablespoon instant yeast
- 1 tablespoon sugar
- 1 teaspoon garlic powder
- 1 teaspoon dried basil
- 1 teaspoon dried oregano
- 1 teaspoon salt
- ¾ cup warm water
- 2 tablespoons olive oil
- 3 cloves garlic, minced
- 2 tablespoons melted butter
- 1 tablespoon grated parmesan cheese
Mixing and Kneading the Dough
First, start by combining the all-purpose flour, instant yeast, sugar, garlic powder, dried basil, dried oregano, and salt in a large mixing bowl. Mix well to ensure that all the ingredients are evenly distributed.
Next, add the warm water and olive oil to the dry mixture. Using a wooden spoon or your hands, mix the ingredients until a rough dough forms. Once the dough comes together, transfer it to a clean, floured surface.
Knead the dough for about 5-7 minutes until it becomes smooth and elastic. This process helps develop the gluten in the dough, giving the breadsticks a light and airy texture. Once kneaded, place the dough in a greased bowl, cover it with a clean kitchen towel, and let it rise for 1-2 hours or until doubled in size.
Shaping and Baking the Breadsticks
After the dough has risen, preheat your oven to 400°F (200°C). Punch down the dough to release any air bubbles and transfer it to a lightly floured surface.
Divide the dough into 12 equal portions. Roll each portion into a long rope, approximately 8-10 inches in length. Place the formed breadsticks on a baking sheet lined with parchment paper, leaving a little space between each stick to allow for expansion.
In a small bowl, combine the minced garlic, melted butter, and grated parmesan cheese. Brush this mixture generously over the tops of the breadsticks, ensuring they are well coated.
Bake the breadsticks in the preheated oven for 12-15 minutes or until golden brown. The aroma of fresh garlic and herbs will fill your kitchen, making it hard to resist sneaking a taste before they’re even done!
Serving and Storage
Once the breadsticks are out of the oven and slightly cooled, it’s time to enjoy them! These breadsticks are perfect as an appetizer, side dish, or snack. Serve them with a bowl of warm marinara sauce for dipping, or alongside your favorite pasta dish.
If you have any leftovers, store them in an airtight container at room temperature for up to two days. To reheat, simply place them in a 350°F (175°C) oven for a few minutes until warm and crispy.
Variations and Tips
While this recipe creates delicious garlic and herb breadsticks, feel free to get creative and add your own twist. Here are a few variations you can try:
- Add shredded mozzarella cheese on top of the breadsticks before baking for a cheesy delight.
- Sprinkle a pinch of red pepper flakes for some extra heat.
- Replace the dried herbs with freshly chopped ones for a burst of freshness.
Remember to have fun with the recipe and make it your own!
Conclusion
There you have it – an easy garlic and herb breadsticks recipe that will make your taste buds dance with joy. With a combination of flavorful herbs, garlic, and a soft, fluffy texture, these breadsticks are sure to become a family favorite. Whip them up for your next gathering, and watch as they disappear in mere minutes. Let the aroma of freshly baked bread fill your kitchen, and enjoy the satisfaction of creating a delicious homemade side dish that everyone will love!
*Source www.tastingtable.com


